Positioning the projector correctly in the room

Once you have purchased your new projector, the next step is to set it up at the correct distance from the screen. So first calculate the correct distance from your projector to the screen. The rule of thumb is that the screen should be half as wide as the distance between it and the projector. In addition, however, you can also specifically increase or decrease the size of the image by changing the distance.

Depending on the layout of your room and whether there are any obstacles between the projector and the screen, it is advisable to mount the projector on the ceiling. Particularly in conference rooms or lecture halls where a large number of people are regularly present, it can be advantageous to mount the projector on the ceiling. This ensures that no one can disturb the image when standing up, for example during a presentation,

.
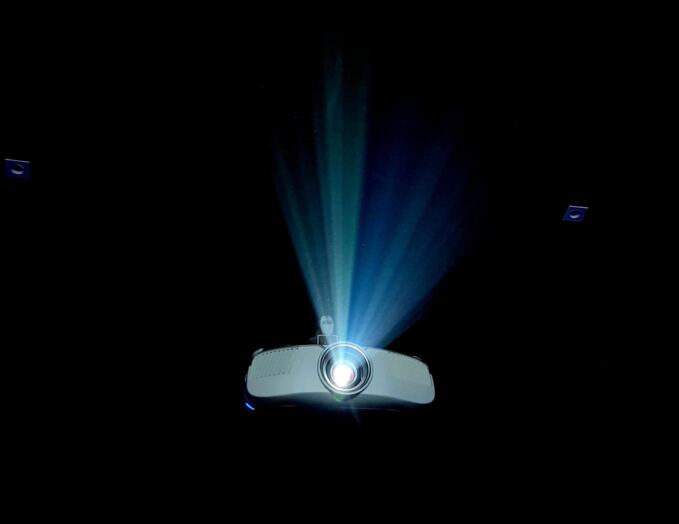
 - Positioning the projector correctly in the room

Setting up the projector: Clarify the general conditions

Once your projector has found its permanent place, you can start setting the picture parameters. The next and far too often neglected step is to consider the framework conditions. In order to ensure optimum resolution and the best possible contrast, you should ensure that the same general conditions exist as when the projector is used:

This means that it should be in its final position and that you must darken the room. Otherwise, there is a risk that the calibration will not be correct when you actually use the projector. However, if you intend to use the projector mostly in brighter conditions, you must also carry out the calibration in these conditions.

Use test images to adjust the projector

Once the general conditions and the position of the projector are right, you can finally start the calibration. Ideally, make sure that the projector has been running for a few minutes before you start. Download a test image for the calibration, such as the universally used „With the help of the image, you can then set the individual parameters of your projector step by step:

  1. Overscan: The term overscan refers to cropped images on a screen. To avoid exactly this and thus ensure that the generated image is optimally recognizable on the screen – it should neither be too small nor protrude beyond the edges of the screen – the test image offers you arrows as orientation aids. There are arrows on the sides of the image, the tips of which should touch the respective ends of the screen for optimum calibration.
  2. Brightness: On the side of the test image is a scale with brightness levels from A to F. Adjust the brightness of your projector so that the individual fields can be clearly distinguished from each other.
  3. Contrast: You must also use a scale with different gradations as a guide for the contrast settings. Make sure that you can differentiate between all the individual levels from G to L.
  4. Color: For the color setting, there are two women with different skin and hair tones in the middle of the image. When calibrating the colors, make sure that the colors of the image look natural.
  5. Sharpness: Finally, you can use a crosshair and the font to determine whether the image sharpness is correct. There should be no double contours or blurred edges.


Setting the projector with ComPeri

If the overall picture looks good to you, the adjustment of your projector is already complete. Of course, there are numerous other options and special software to further optimize the picture format of your projector. However, this usually involves somewhat more complicated procedures and the acquisition of specially designed software.

There is also the option of individual solutions if, for example, you are unable to point your projector straight at the screen. Lens shifting or keystone correction can be used to compensate for any imperfections. If you have any questions or encounter problems when setting up your projector, ComPeri is the ideal contact for you.

With over 25 years of experience in the fields of conference and media technology, our professional team is at your side. We are happy to support you not only with the installation and adjustment of your projector, but also advise you on various projector models, projectors, displays and more. We are at your disposal from design and installation to regular maintenance. Contact us today with your questions or orders for projectors and more.